

Tiaris guide
Manage people and account security
Invite Console administrators, manage memberships, and protect your own sign-in.

Open Settings in the top bar. People manages access to this organization’s Console. Your account manages your global sign-in. Workstation accounts are configured separately under Sign-in sources.
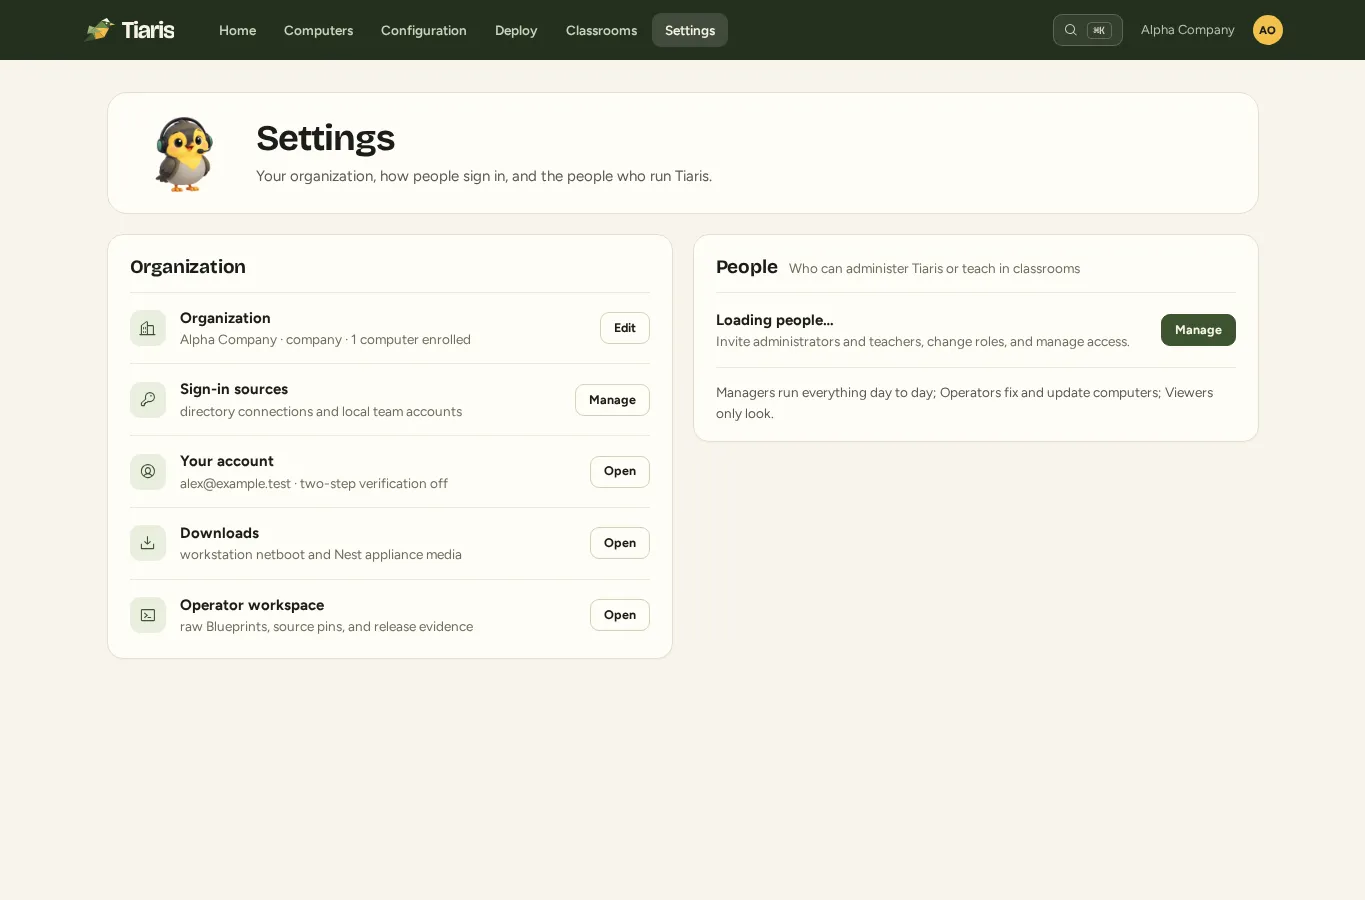
Invite an administrator
Section titled “Invite an administrator”Owners and Managers can open Settings > People:
- Select Invite administrator.
- Enter the person’s name and email address.
- Choose the role they need. Use the permissions matrix when deciding between Viewer, Operator, Manager, and Owner.
- Send the invitation and check its delivery state in People.
- Ask the recipient to follow the invitation link and complete the account/sign-in steps it presents.
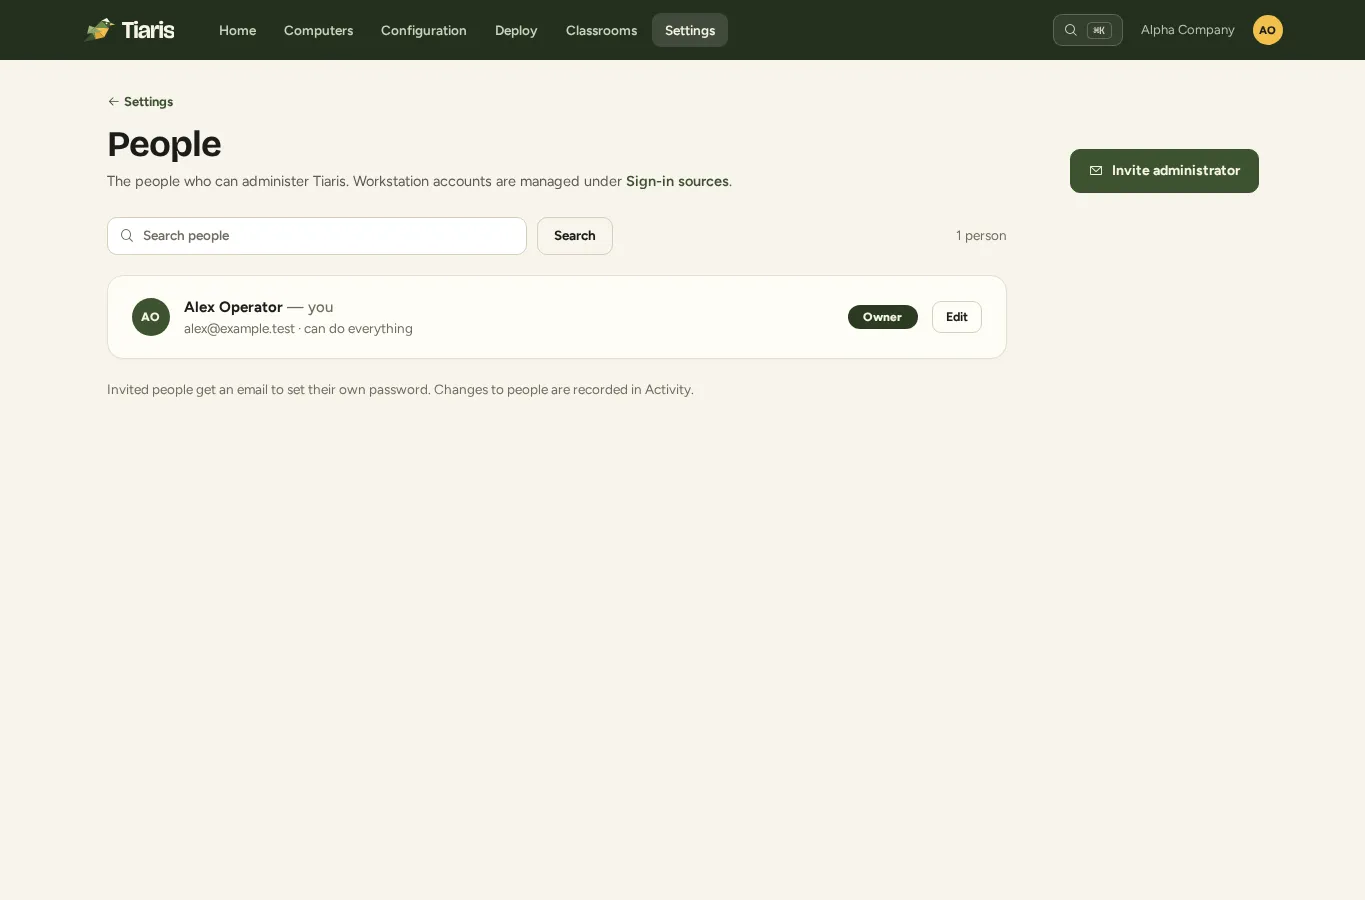
A recipient who already has a Tiaris account should use that account’s existing sign-in. An invitation adds the appropriate organization membership; it does not require sharing or replacing another person’s password.
If delivery fails, confirm the address and ask the platform administrator to check email delivery. Use the resend action when available. An expired invitation requires a fresh link.
Change or remove access
Section titled “Change or remove access”Open the person’s controls in People to change their membership role, send a password reset, or remove access. Check the organization before editing a membership: an account may also have access elsewhere.
Removing an organization membership does not decommission its computers. Tiaris prevents a change that would remove or demote the last Owner. Arrange another valid Owner before completing that transition.
Verify your email
Section titled “Verify your email”Open Settings > Your account, or Your account in the account menu. Check the email verification state and choose the verification-email action when needed. Follow the fresh link sent to your own address.
Verification is required before enabling email-based two-step verification. If a link has expired, request a new one. Review your new verification state after changing the account email.
Enable two-step verification
Section titled “Enable two-step verification”- Verify your email address.
- Under Your account > Security, turn on Two-step verification.
- Save the recovery codes shown at that point in your approved password manager.
- On later sign-ins, enter the verification code sent by email when prompted.
Each recovery code can be used once when email is unavailable. Tiaris shows a newly generated set once; it cannot show that same set again later. New codes replaces the previous set, so update your saved copy immediately.
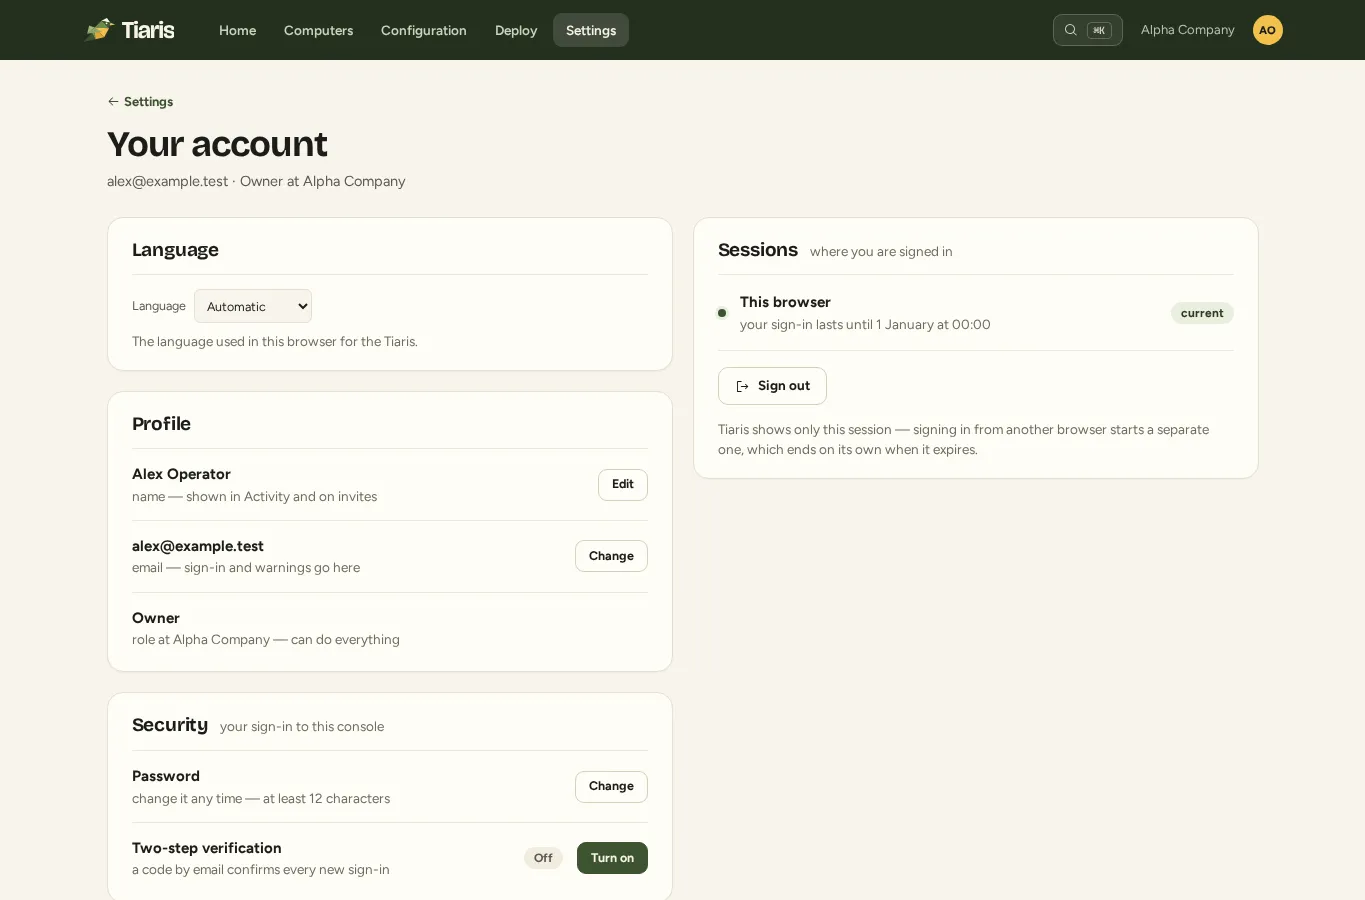
If your account cannot receive verification email and you have no usable recovery code, contact your organization’s administrator or approved support contact. Do not send your password or recovery codes in that request.
Change your password or profile
Section titled “Change your password or profile”Use the separate profile and password controls in Your account. Confirm the intended global email address before saving: your account identity is shared across accessible organizations.
For a forgotten password, use the sign-in screen’s reset flow. A new reset message replaces the need to reuse an expired link. If email delivery is unavailable, ask an Owner or Manager to help through the supported account-recovery process.
During a platform administrator’s View as user session, personal security controls are protected. Stop impersonating before managing your own password, verification, or recovery codes.
Review account preferences
Section titled “Review account preferences”Language and Light/Dark/Automatic appearance belong to this browser. See Language and appearance. Sign out when finished on a shared administration computer.