

Tiaris guide
Set up your first computer
Follow the complete path from your first sign-in to a verified managed workstation.

Start with one representative computer. Once its sign-in, apps, and settings work as intended, use the same configuration for the rest of your organization.
Before you start
Section titled “Before you start”Have your Tiaris address and an administrator account, a suitable computer, and wired access to a ready Tiaris Nest. Confirm that the installation disk can be erased. Read requirements and networking before changing firmware or network settings.
If your computer is already installed and managed, go straight to configuration and deployment.
1. Sign in and choose your organization
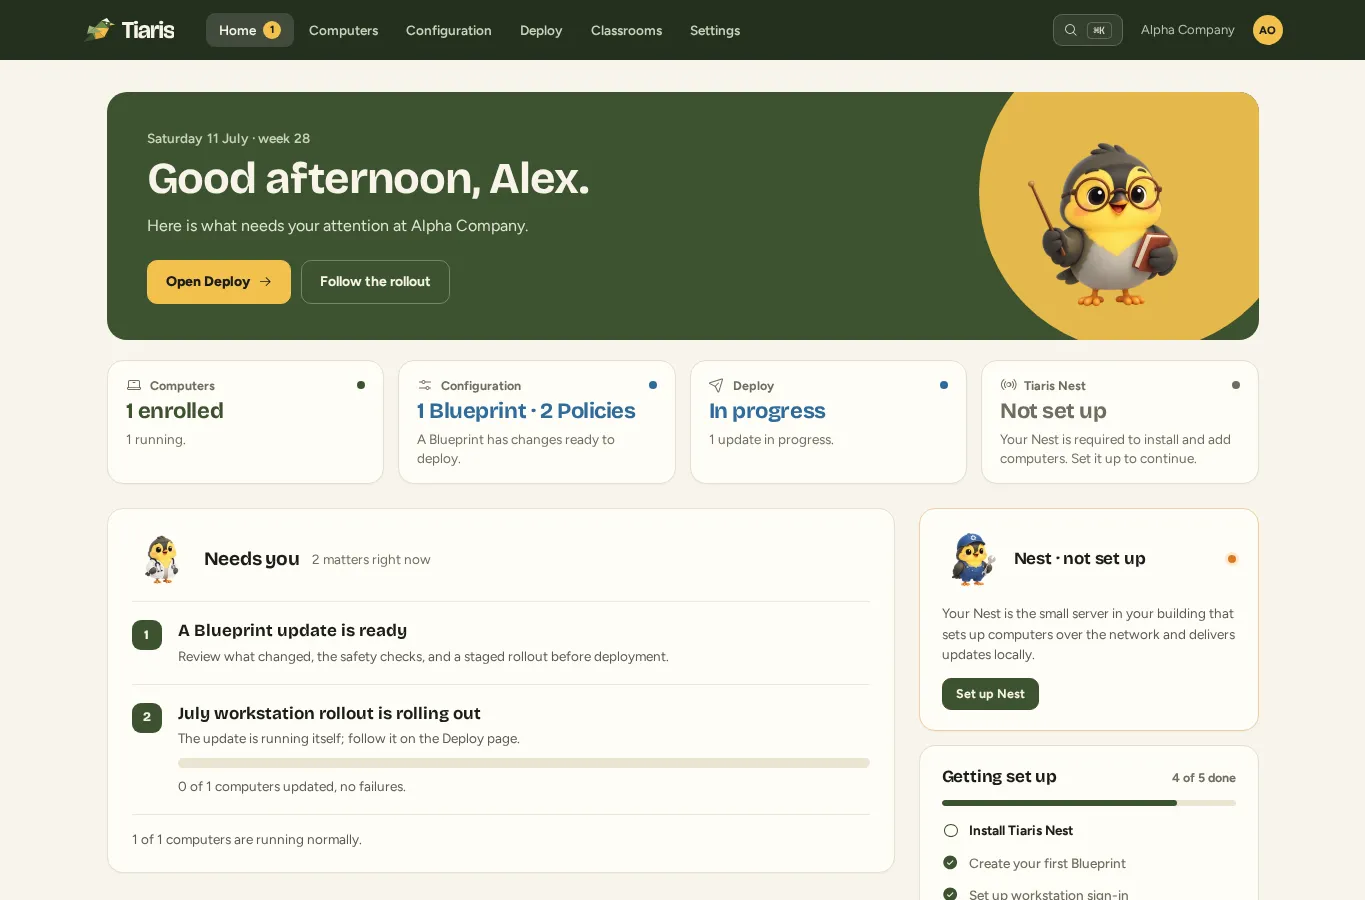
Section titled “1. Sign in and choose your organization”Sign in, then check the organization selector in the top bar. Everything you configure belongs to that organization. Open Settings > Your account to verify your email and turn on two-step verification.
Choose your preferred language and appearance. These choices affect this browser, not your managed computers.
2. Decide how people will sign in
Section titled “2. Decide how people will sign in”Settings > People grants access to the management Console. It does not create workstation accounts.
For workstation accounts, open Settings > Sign-in sources. Configure a local account profile or connect Microsoft Entra ID or Google Workspace. Test the connection before choosing it in a Policy. Your organization’s Default Policy must have a usable sign-in choice before you install a computer.
3. Prepare the apps and rules
Section titled “3. Prepare the apps and rules”Open Configuration. The three parts work together:
- An App List chooses applications. Start with Essentials, then add the tools your first computer needs.
- A Policy defines sign-in, security, networking, and organization rules. Review the Default Policy before replacing its settings.
- A Blueprint selects App Lists, a Desktop Experience, appearance, and its Policy. Use a clear name such as “Staff workstation.”
Save the Blueprint draft, choose Prepare release, wait for preparation, and choose Release when it is ready. A released version can be selected during installation; releasing alone does not update a computer.
4. Make Nest ready
Section titled “4. Make Nest ready”On Home, select Set up Nest if your organization has none. Follow Use Tiaris Nest, including the confirmation of the exact disk that installation will erase.
If Nest is already installed, select Open Nest. Confirm that Delivery > Computer setup files is Ready. A connection alone does not establish installation readiness.
5. Install and approve the computer
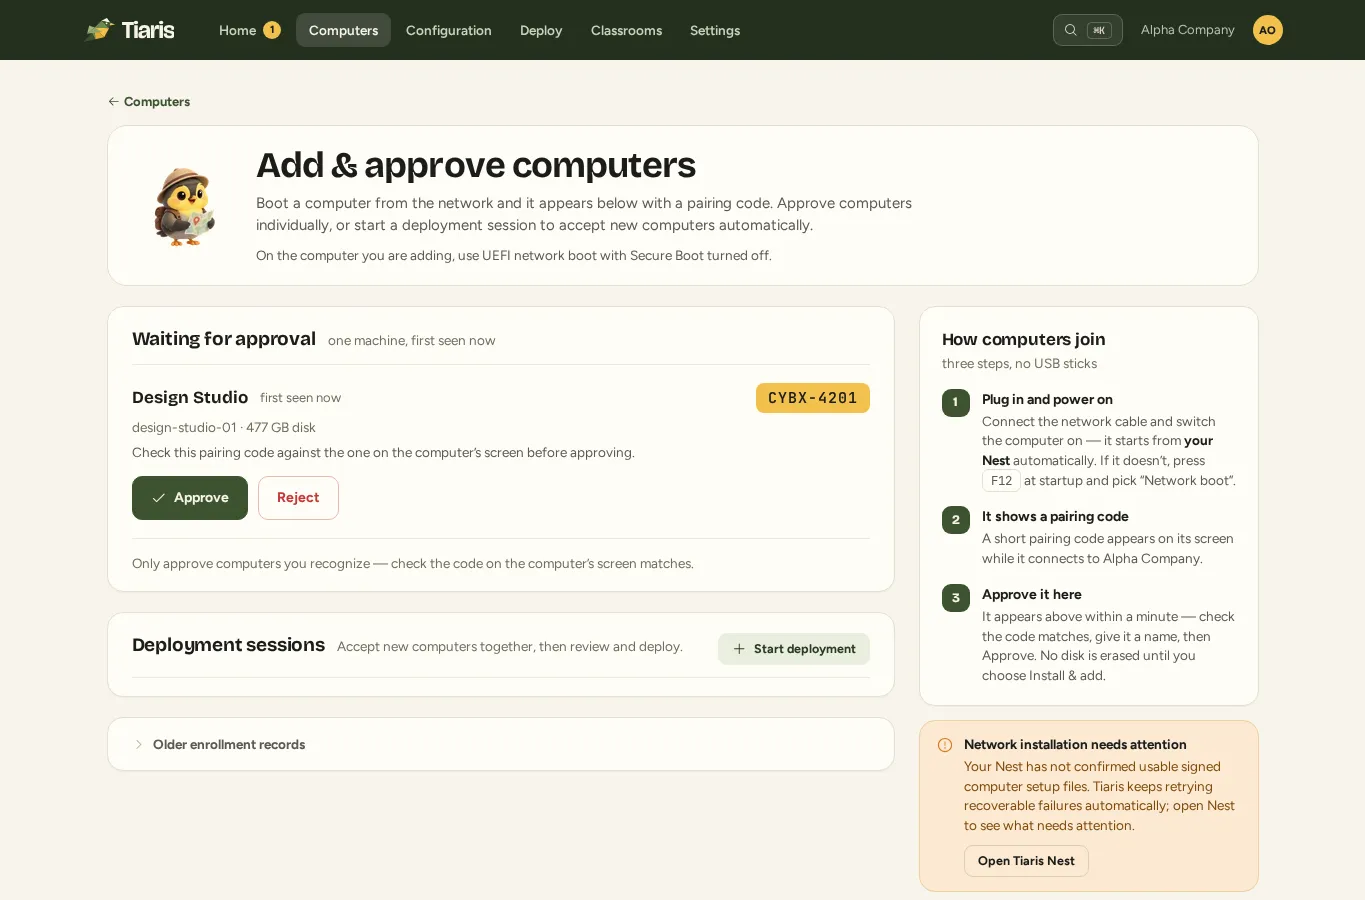
Section titled “5. Install and approve the computer”Connect the computer to the Nest network with Ethernet. Use its firmware boot menu to start UEFI network boot, then follow Add computers.
Match the pairing code on the computer to Computers > Add computers, choose the released Blueprint, and confirm the intended installation disk. Install & add prepares the reviewed installation. Check the final disk-erasure confirmation before proceeding.
6. Verify the result
Section titled “6. Verify the result”After the computer restarts:
- Find it under Computers and confirm recent contact.
- Check its assigned Blueprint and reported configuration.
- Sign in on the actual workstation and open the expected applications.
- Check the desktop, networking, and restrictions you selected.
- Use Verify Blueprint in the computer panel when you need fresh evidence. Read the checks before interpreting a warning.
Some desktop changes take effect at the next sign-in. An unobservable desktop session is a reporting limitation, not proof that the setting failed.
7. Try the first update
Section titled “7. Try the first update”Make one small Blueprint change, prepare and release it, then open Deploy. Review the exact plan, choose Approve and start, and confirm the result on this first computer. For larger groups, try one computer before approving the next wave.
If a step fails, use common problems. Avoid approving a wider deployment until the first computer is working.